-
Brands
0 - 9ab
- BABOR
- Babyliss Pro
- Bapscarcare
- Barbicide
- Bare By Vogue Williams
- barnum
- BCL SPA
- Beardmen
- Beauty Pillow
- Beautyblender
- BeautyLash
- Better Be Bold
- Bio Oil
- Bioderma
- Biolage
- Biosilk
- Biotherm
- Bondi Sands
- Booby Tape
- Bouclème
- Bourjois
- Braun
- Briogeo
- BRITA
- Bronz'Express
- Brush on Block
- Bullfrog
- Bumble and bumble
- BYBI
cfgimqrs- S-Pro
- Sage
- Salon B
- Salonline
- Salontopper
- Samenwerkende Pedicures
- Sashapure
- Sassoon
- Scarban
- Schwarzkopf Professional
- Scrub & Rub
- Sea Magik
- Sebastian Professional
- Sendo
- Serge Lutens
- Sesderma
- Sexy Hair
- Shampoobars
- SheaMoisture
- Sibel
- Siemens
- Siemens/Bosch
- Silk'n
- Skin Supplements
- Smilepen
- Solaris
- Spa of Iceland
- Spongellé
- Sthauer
- Styledry
- Suavecita
- Suavecito
- Sugarbearhair
- Suntribe
- Superli '37
- Sutra
- SUVA
- SVR
- Swann-Morton
- SWEED
- Swiss Perfection
- System Professional
- Hairproducts
- Beauty
- Body & Skin
- Tools
- Salon Supplies
- Men
- New
- Outlet
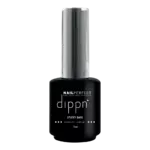
Acrylic nails
Do you enjoy being busy making your own nails beautiful? Then acrylic nails might be for you. You can apply it as reinforcement on your natural nail, but you can also use it to lengthen the nails. Do you want to start putting on your own acrylic nails? We have all the products you need! Read more >
1 - 23 from 23,
per page
sorting


Acrylic nails
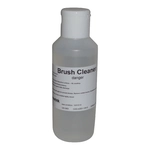
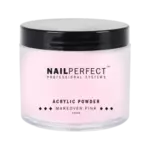
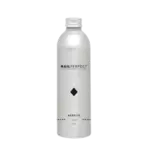
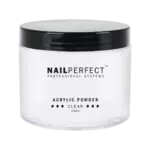
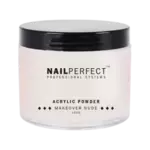
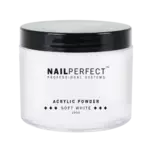
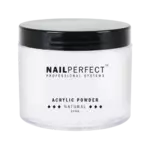
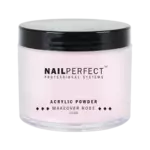
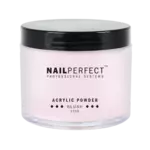
Acrylic is created by combining a powder (polymer) and a special liquid (monomer). You give the desired colour, shape and length to the nail. Are you a nail biter or do your nails always tear easily? Then acrylic nails are what you need. With acrylic nails, you can no longer bite or pick and your nails will no longer tear, because there is a hard and solid layer on the nails. Acrylic nails can be given any colour you want, this can be done with an acrylic colour powder, but also with gel polish. The price of acrylic nails varies per product. We also have handy starter kits, such as the Acrylic Get Started Kit & Acrylic Student Kit to start putting your own nails on.
How to make beautiful acrylic nails
If you would like to buy products for beautiful acrylic nails, check carefully what all you need. Always be careful when applying acrylic nail products and work hygienically. Each product may have a different step-by-step plan, so read the procedure carefully before use.
- Step 1: gently push back the cuticles with a cuticle pusher or bok paw.
- Step 2: roughen the nail with a nail buffer.
- Step 3: remove dust from the nails with a nail brush.
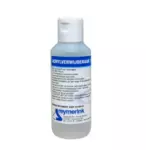
- Step 4: degrease the nails well with the Blue Scrub.
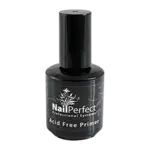
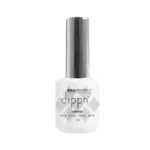
- Step 5: apply a thin layer of the Universal Air Bond to the nail for better adhesion.
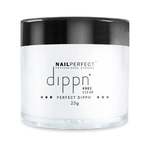
- Step 6: use an acrylic brush to create the perfect nail with the Acrylic Liquid combined with an Acrylic Powder. The acrylic will harden on its own.
- Step 7: You can polish the nail until it shines or apply a top coat. Let this harden under the lamp.
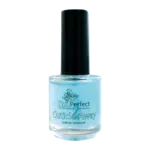
- Step 8: apply a cuticle oil to care for the skin.
Acrylic nails with extension
- Steps 1 to 4 are the same as mentioned above.
- Step 5: apply a nail template or stick a nail tip on the natural nail.
- Step 6: apply a thin layer of Universal Air Bond to the nail for better adhesion.
- Step 7: Use an acrylic brush with Acrylic Liquid in combination with an Acrylic Powder. Apply as tightly as possible to the stencil and build up the nail. The acrylic will harden on its own.
- Step 8: File the nail to the desired shape and length, removing sharp edges.
- Step 9: remove the dust from the nails with a nail brush.
- Step 10: polish the nail or apply a top coat.
- Step 11: apply a cuticle oil to care for the skin around the nails.
Removing acrylic nails
Removing acrylic nails is important to do correctly. Never try to pull acrylic nails off your natural nail. This will damage your natural nail and can have unpleasant consequences.
- Step 1: use a file to remove the gloss layer from the acrylic nail or any gel polish colour.
- Step 2: use a remover with acetone and apply it to a cotton ball.
- Step 3: apply the cotton ball to the nail and wrap it with foil.
- Step 4: soak for about 10 to 15 minutes.
- Step 5: remove the foil and cotton ball.
- Step 6: gently push the leftover acrylic off the nail with a cuticle pusher.
- Step 7: is the acrylic still not letting go properly? Then reapply a cotton ball with acetone to soak it a little more.
- Step 8: you can carefully remove the last remnants with a file.
- Step 9: wash your hands and then apply a cuticle oil to care for the nails and skin.
What is the difference between acrylic nails & gel nails
The products you use with acrylic nails are air-drying. These nails are strong and not flexible. For gel nails, you use a liquid gel, which you have to build up in several layers. These layers should be cured under a lamp. Gel nails look a bit thinner, but they are strong and flexible. You can create beautiful nails with both products.
Frequently asked questions
How do you get acrylic nails off?
To remove acrylic nails, you can soak them in acetone, remover or a special acrylic remover. Then, you can place cotton wool soaked in acetone on your nails and wrap them in aluminium foil. After about 15-20 minutes, you can gently remove the acrylic with a bok paw. It may help to remove some of the acrylic with a file first.
What do you need for acrylic nails?
For acrylic nails, you will need acrylic powder, liquid (usually monomer), an acrylic brush and nail tips or stencils. Furthermore, a nail file or buffer file can help to shape your nails. With these, you can also polish the nails. A primer can help improve adhesion with the nail.
What is the difference between acrylic and gel nails?
Acrylic nails are made with a mixture of acrylic powder and liquid that hardens and becomes solid on the nails. Gel nails are made by applying a gel polish to the nails and curing under a UV or LED lamp. Acrylic nails tend to be firmer and last longer, while gel nails are more flexible and have a more natural look.
What are acrylic nails?
Acrylic nails are artificial nails made by applying a mixture of acrylic powder and liquid to the natural nails or nail tips. The mixture hardens into a hard layer, which can be filed and polished to the desired shape and length. Acrylic nails are popular because of the time it stays on. In addition, they can be decorated with different designs and nail art.